
Heritage Masonry Restoration in Toronto: What to Check Before Work Begins
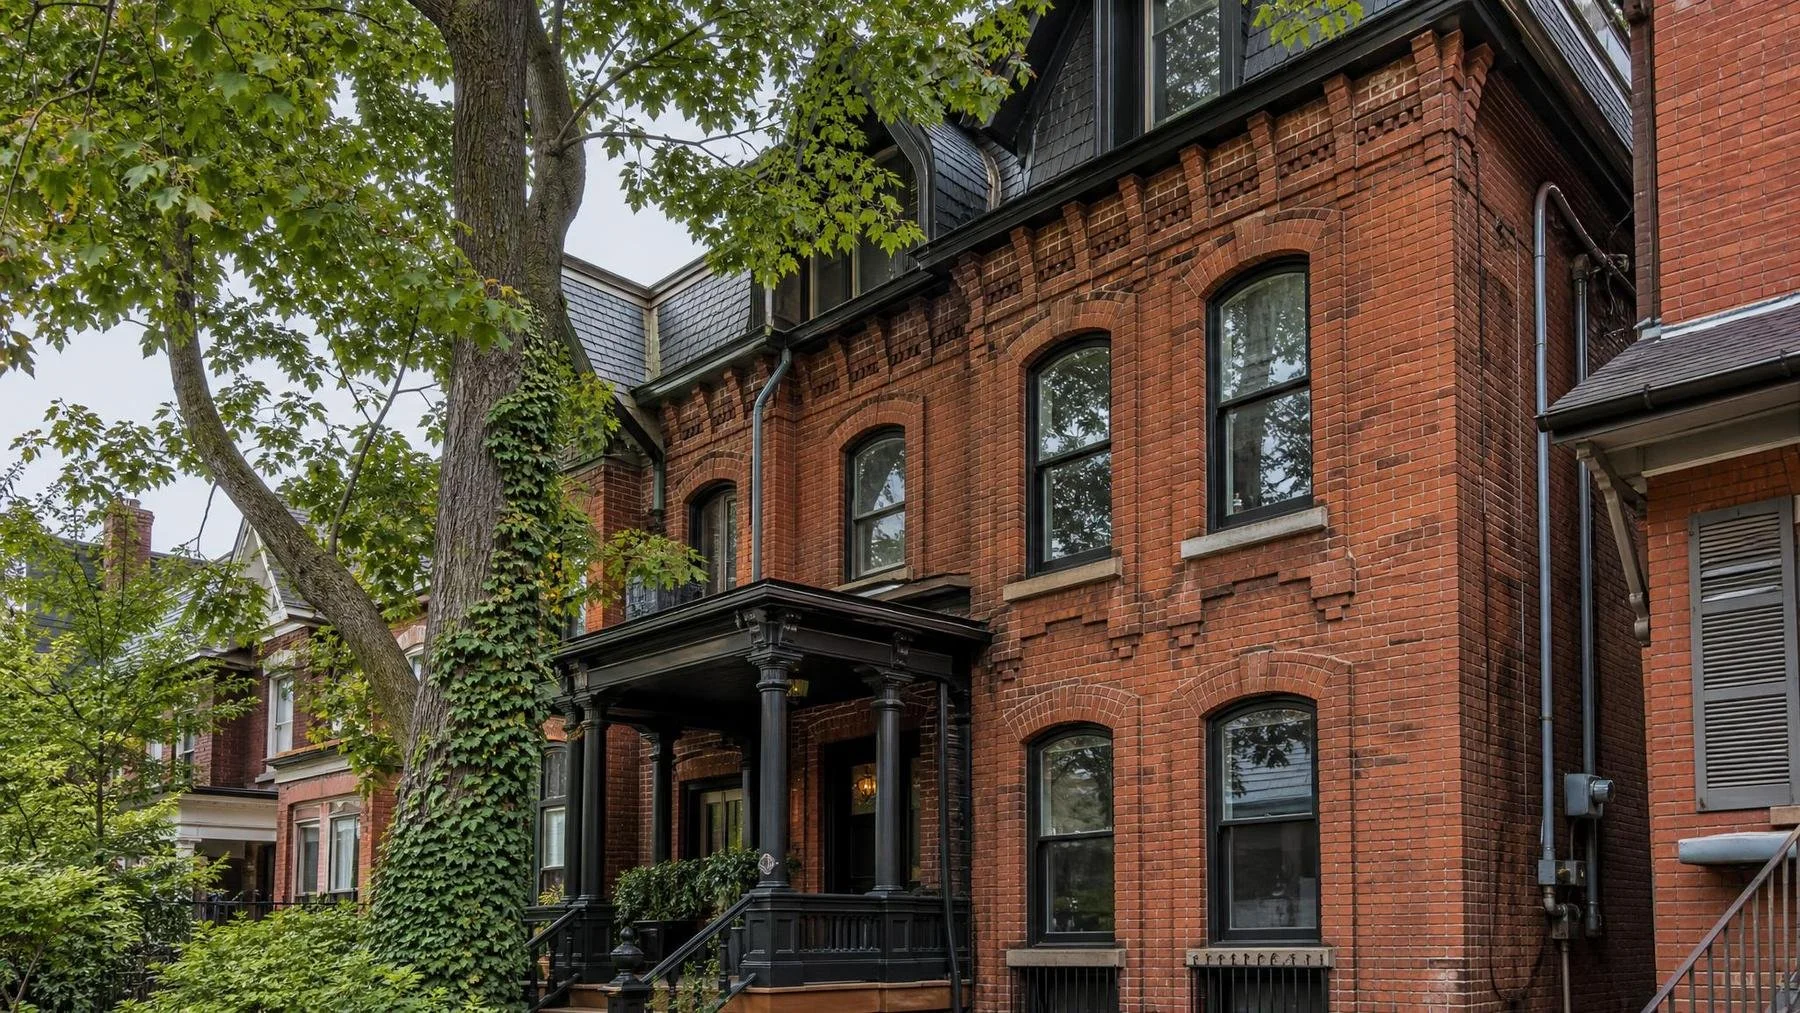
Owners of older Toronto houses ask the same question in a dozen ways: what do I need to sort out before anyone touches the brick? For heritage masonry restoration the answer runs in a fixed order. Confirm the property's heritage status, document existing materials and failures, correct water sources, and align the repair scope with City requirements before selecting mortar, brick, stone, or finish.
Toronto has a large stock of listed and designated buildings, and plenty more that are simply old. The rules differ between those cases, and so does the cost of getting the material choices wrong. Either way the sequence above saves money, because every one of those steps changes what the right repair is.
We would rather spend an hour establishing what a wall is made of and where its water comes from than quote a repair that has to be redone. Here is what to check, in the order it matters.
Check One: Find Out Exactly What Status the Property Has
This is a records question, not a judgement call, and it comes before everything else because it changes who approves the work.
The three cases that matter
- Designated. Alterations are regulated and need City approval through the heritage permit process.
- Listed. The property is on the register without the same protections, but the City still has an interest and may ask questions.
- Neither. Ordinary building rules apply, though the masonry may still be old enough to need the same care.
Confirm status in writing before a contractor prices anything, because a scope written without it may simply not be permissible.
Check Two: Write Down What the Building Is Actually Made Of
Older walls are rarely one thing. Brick from more than one era, stone at the base, a parged section, a rebuilt chimney and two previous rounds of repointing can all sit on one elevation.
What to record about the material
- Unit type and approximate size, by elevation and by height on the wall.
- Unit hardness and absorption behaviour, including which faces are flaking.
- Existing joint width, depth and profile, and where it changes.
- Whether earlier repointing used a mortar visibly harder than the units.
- Any coating, paint, sealer or parging already on the masonry.
- Carved, moulded or shaped units that cannot simply be replaced.
What to record about the failure
Separate the symptoms. Receded or cracked joints, spalled unit faces, displaced units, bulging areas, cracks that follow joints, cracks that split units, staining and salt deposits are different findings with different causes. Photograph each one located and dated. Guessing the cause is the single most expensive step in this kind of work.
Check Three: Follow the Water Before You Price the Repair
Most masonry failure on an older Toronto building is a water story. Freeze and thaw works like water prying a crack wider, over and over, through a wet autumn and a cold January.
The usual sources, in the order worth checking
- Gutters and downspouts, including where they discharge at ground level.
- Roof edges, flashing, chimney and dormer junctions.
- Sills, headers and projecting detail with no drip or a lost wash.
- Grade and hard surfaces that slope toward the wall.
- Interior sources such as a blocked drain or a humid basement.
- A previously applied sealer or coating trapping moisture in the wall.
Correct what you find here first. A joint rebuilt under a downspout that discharges against the wall fails in the same place on the same schedule.
Check Four: Match the Material to the Wall, Not to the Catalogue
Now the material decisions can be made, and they follow from the first three checks rather than from preference.
Picking a Mix Softer Than the Brick
On soft historic units the mix should be softer and more vapour open than the masonry around it, so the joint wears rather than the brick face. Joint width and profile should follow the existing work rather than a house standard.
Units and finishes
Replacement brick and stone are matched on size, texture, colour range and absorption together. Cleaning, paint removal and graffiti removal are chosen for the specific surface and tested on a discreet patch first, which is the same discipline used in brick cleaning and graffiti removal. Sealers are a decision to make carefully on old masonry, not a default finish.
| Check | What it changes | Who confirms it |
|---|---|---|
| Heritage status | Whether the scope is permissible at all | City heritage staff, in writing |
| Existing materials | Mortar mix, unit match, joint profile | Documented on site before pricing |
| Failure pattern | Whether it is joints, units or movement | Mason, with an engineer where it moves |
| Water sources | Whether the repair will hold | Confirmed and corrected first |
| Finish decisions | Cleaning method and any coating | Tested on a patch, then agreed |
Where the Limits of a Mason's Scope Sit
Structural movement is not a masonry question until an engineer has defined it. A bulging wall, a crack that widens along its length, a failing arch or a wall that has moved off its support all need that brief first. Heritage approvals belong with City staff, not with a contractor's assurance. Within those limits, the conservation work itself sits with historical restoration, and work on institutional buildings of the same vintage with church and institutional restoration.
The Short Version for an Older Toronto Home
Confirm status. Write down what the wall is and what it is doing. Fix the water. Then choose mortar, units and finishes to suit what you found, and keep City review and engineering ahead of the trades. Do it in that order and the repair is a repair. Do it backwards and it becomes a second project.
Show Brick Aid Masonry the damage
We are a family owned masonry company serving Toronto and the GTA, and we work on century homes and heritage facades. We assess brick, stone and mortar in person, give you an honest free quote, and back our work with a 2 year workmanship warranty. Request a free quote and send us photos of what you found.