
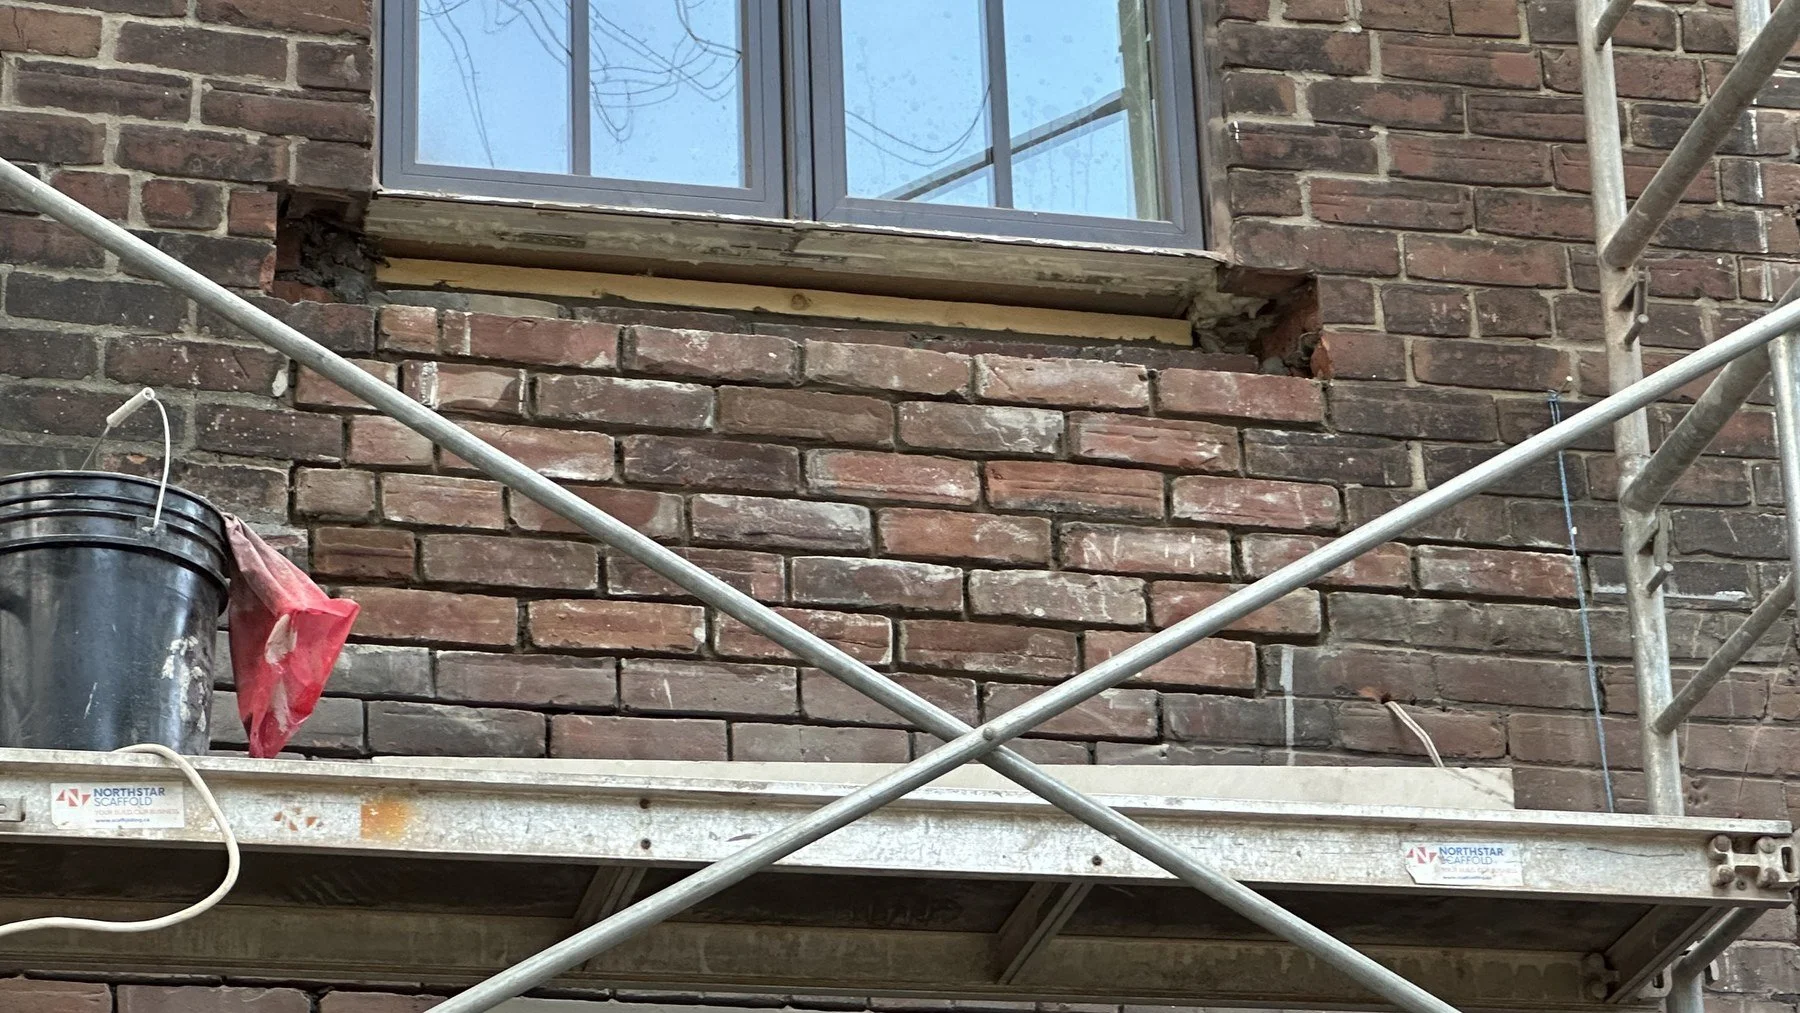
Brick restoration works in a set order: stop the water, fix the structure, replace and repoint, clean gently, then decide on any finish. The costly mistake is doing those jobs out of order. A wall gets cleaned or sealed so it looks fresh, then the joints are cut out a year later and the new work marks the clean face.
Any repair or performance issues with the masonry should be fixed before choosing the final colour or finish. That is the rule we work to on every Toronto restoration, and the rest of this article is that sentence worked through.
Six steps, in the order that protects the work
1. Find where the water is getting in
As our masonry repair page sets out, the cause of failing masonry can be water, frost, a failed lintel, settling or a bad previous repair. Water is the one to rule out first in a restoration. Our brick repair page explains white staining plainly: efflorescence generally means water is moving through the wall and carrying salts out with it. Gutters, downpipes, sills, chimney crowns and grade come first, because a restored wall that keeps getting soaked will need restoring again.
2. Deal with anything structural
Bulges, cracks through the bricks, rusting lintels and leaning sections are repaired before anything cosmetic. They change how much of the wall needs taking down and rebuilding, and there is no point cleaning brick that is about to come out.
3. Replace the units that have failed
Spalled and cracked bricks are cut out and replaced with brick matched in size, colour and texture. On older homes, reclaimed brick is often the closest match.
4. Repoint the joints
Failed mortar is cut back and the joints are refilled with a mortar that suits the brick. On older walls that often means lime mortar rather than the strongest mix on the shelf. This is the step that makes the wall weathertight again.
5. Clean, gently, at the end
Cleaning comes after the messy work, not before it. Use the mildest method that does the job and test it on a small patch first. The national Standards and Guidelines for the Conservation of Historic Places give the same guidance in general terms: use the gentlest means possible for any intervention.
6. Then decide on the finish
Only now is it worth choosing whether the wall needs anything on its surface at all. Many walls do not. A coating that stops brick drying out works against the wall, so ask what problem it solves before anything goes on.
What a restoration scope should show you
A good written scope follows the same order. It names the water sources and how they are being dealt with, says which bricks or areas are being replaced, describes the mortar and joint work, explains the cleaning method, and leaves the finish decision until the repairs are done. If a quote starts with cleaning or a coating and says nothing about why the wall deteriorated, ask why.
On heritage homes, the same thinking goes further. On our historical restoration work we study the original construction, photograph the details and write a scope that preserves them, so the restored wall still reads as original.
The plain answer on brick restoration
Fix the water, fix the structure, replace and repoint, clean gently, and only then decide how it should look. A wall restored in that order holds up, and the money you spend on it stays spent once.
Show Brick Aid Masonry the damage
Send us photos of the wall and we will write a restoration scope in that order, telling you honestly which steps your wall actually needs. Request a free quote.