
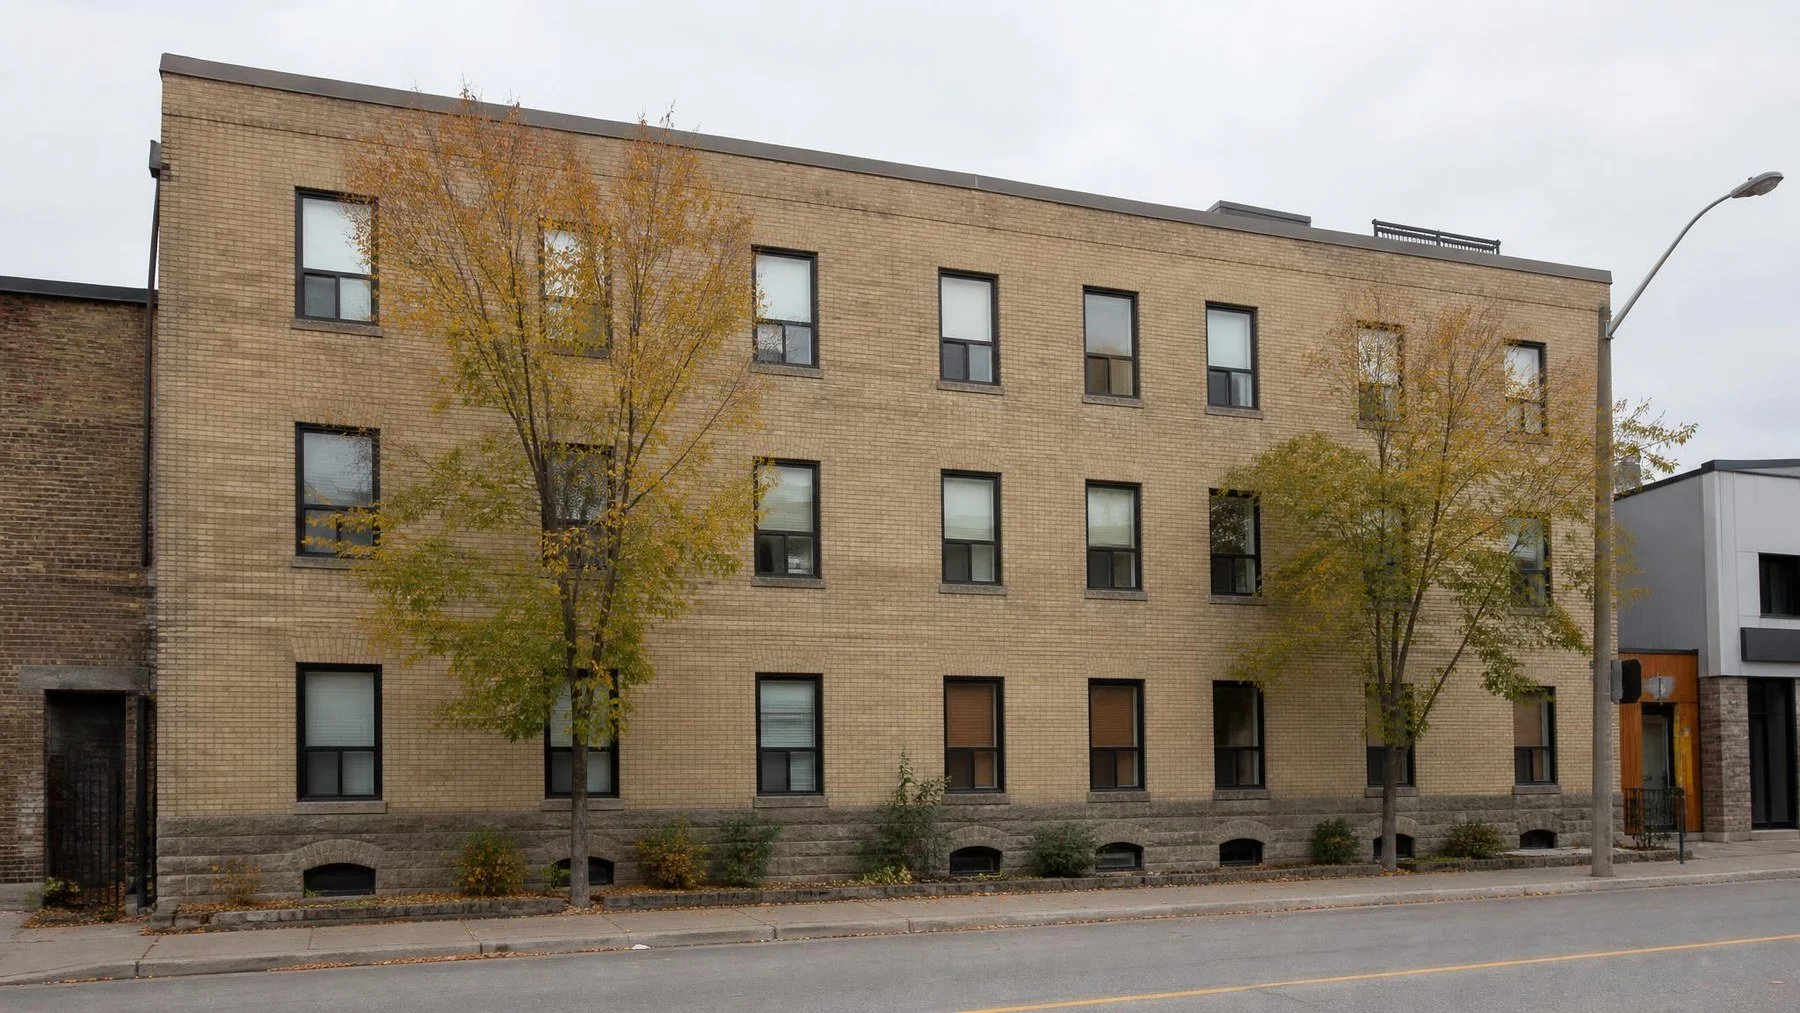
Fall commercial masonry work goes better in a fixed order. Inspect access risks, loose masonry, failed joints, parapets, drainage paths, and documentation needs in that order, then separate urgent safety work from planned maintenance. Mortar dust on a sidewalk, a stain running down from a parapet, or one brick sitting proud of its neighbours above a loading door are the symptoms that set that order for you.
Toronto and the GTA give a wall a hard few months. Wet autumn weather soaks the masonry, the first hard freeze arrives, and water that already found a path through an open joint expands inside it. The weeks before that freeze are when inspection pays, and they are also when access gets harder and lead times get longer.
We look at brick, stone, parapets and foundations in person before we scope anything, and we would rather tell you an area needs a structural engineer than price work around a wall that is moving. What follows is the order we use on site.
Start Where Material Can Fall
Begin at ground level on every elevation and look up. You are not grading the whole facade yet. You are finding anything that could come down onto a sidewalk, an entrance, a loading area, a patio or a parking stall.
Restrict the area before you investigate it
If a unit is visibly loose, displaced or hanging, the first action is to keep people out from under it. Cone it, tape it, or close the route. Do not pull on it, tap it, or climb up to test it. A brick held only by friction can let go while someone is standing below, and probing it from a ladder puts you inside the fall zone you are trying to clear.
What counts as an immediate risk
- Loose, displaced or missing units anywhere above an occupied route.
- Spalled brick faces shedding fragments onto a walkway below.
- A parapet cap or coping stone that has shifted out of line.
- Fragments of mortar or concrete collecting on a sill, a canopy or the ground.
- A bulge, a lean, or a crack that is visibly wider at one end.
Any one of those five ends the inspection for that elevation and starts a phone call. Everything further down this list can be recorded and planned.
Then Read the Joints and the Brick Faces
Once the fall risks are controlled, walk each elevation slowly and treat joints and units as two separate questions.
The joints
Look for mortar that has receded behind the face of the brick, cracked through, or gone soft enough to rake out with a key. Joint failure is normal. Mortar is the sacrificial layer, meant to wear before the brick does. The repair is joint replacement rather than resurfacing, and a joint filled shallow, or filled with a mortar harder than the surrounding brick, pushes the next round of damage into the brick face instead.
The units
Now look at the brick and stone themselves. Flaking faces, missing corners, hollow sounding units and crumbling edges are a different problem from an open joint. Photograph the two conditions separately and note the elevation and the approximate height, because a pattern that climbs one bay tells you something a scattered sample does not.
Work Down From the Parapet
Parapets, copings and roof edges take weather from two sides and sit above everything else on the wall. They are also the part a property manager sees least and the part that most often explains damage lower down.
Caps and copings
From the ground, and from an adjacent roof where you have safe access, check whether cap stones sit level and in line. Look for open or missing joints between caps, displacement at corners, and staining on the wall directly beneath a joint. A gap in a coping joint is a direct route into the top of the wall, and the wall has no way to shed that water except through the masonry below it.
The water path
Then follow the water down. Roof drains and scuppers, downspouts and where they discharge, flashing lines at setbacks and canopies, window sills and headers, and finally the grade at the base. Blocked, disconnected or badly discharging drainage will keep producing the same joint failure no matter how well a joint is rebuilt.
Document It While You Are Standing There
This is the step that gets skipped and the step that saves money. A scope written from a clear record is a scope three contractors can price the same way.
- Photograph each elevation wide, then photograph each defect close, in that order.
- Label every photo with the elevation, the approximate floor level and the date.
- Record crack width and location rather than a general note about cracking.
- Note what has changed since last fall, and say plainly where you do not know.
- Note access constraints such as tenants, sidewalk rights, overhead wires, roof access and permitted hours.
On an older or designated facade that record is the start of a historical restoration conversation rather than a general repair ticket.
Sort Urgent Work From Planned Maintenance
By this point you have two lists rather than one. The split comes from what you observed, not from what you expect it to cost.
| What you observed | What it decides |
|---|---|
| Loose or falling material above an occupied route | Access control today, then assessment |
| Bulging, leaning, or a crack wider at one end | Structural engineer before any masonry scope |
| Open or receded joints with sound units | Planned joint repair in a suitable season |
| Displaced or open parapet caps | Scope alongside the roof and flashing work |
| Staining, efflorescence or damp showing inside | Find and correct the water source first |
| Designated or listed heritage facade | City heritage review before material selection |
Planned condition work is where a commercial masonry budget belongs, and where a defined boundary beats an open allowance. Isolated local repairs sit with general masonry repair instead.
What the Wall Is Actually Telling You
Order beats thoroughness here. Control what can fall, separate joints from units, work down from the parapet, follow the water, and write it down with dates on it. That leaves a short list of work that cannot wait and a longer list you can scope, price and schedule properly. Structural movement goes to an engineer. Heritage approvals go to City staff. Everything else becomes a facade record you will be glad to have in March.
Show Brick Aid Masonry the damage
We are a family owned masonry company serving Toronto and the GTA, with more than 500 restoration projects behind us and a 2 year workmanship warranty on our work, as our own record sets out. Request a free quote and send us photos of what you found.