
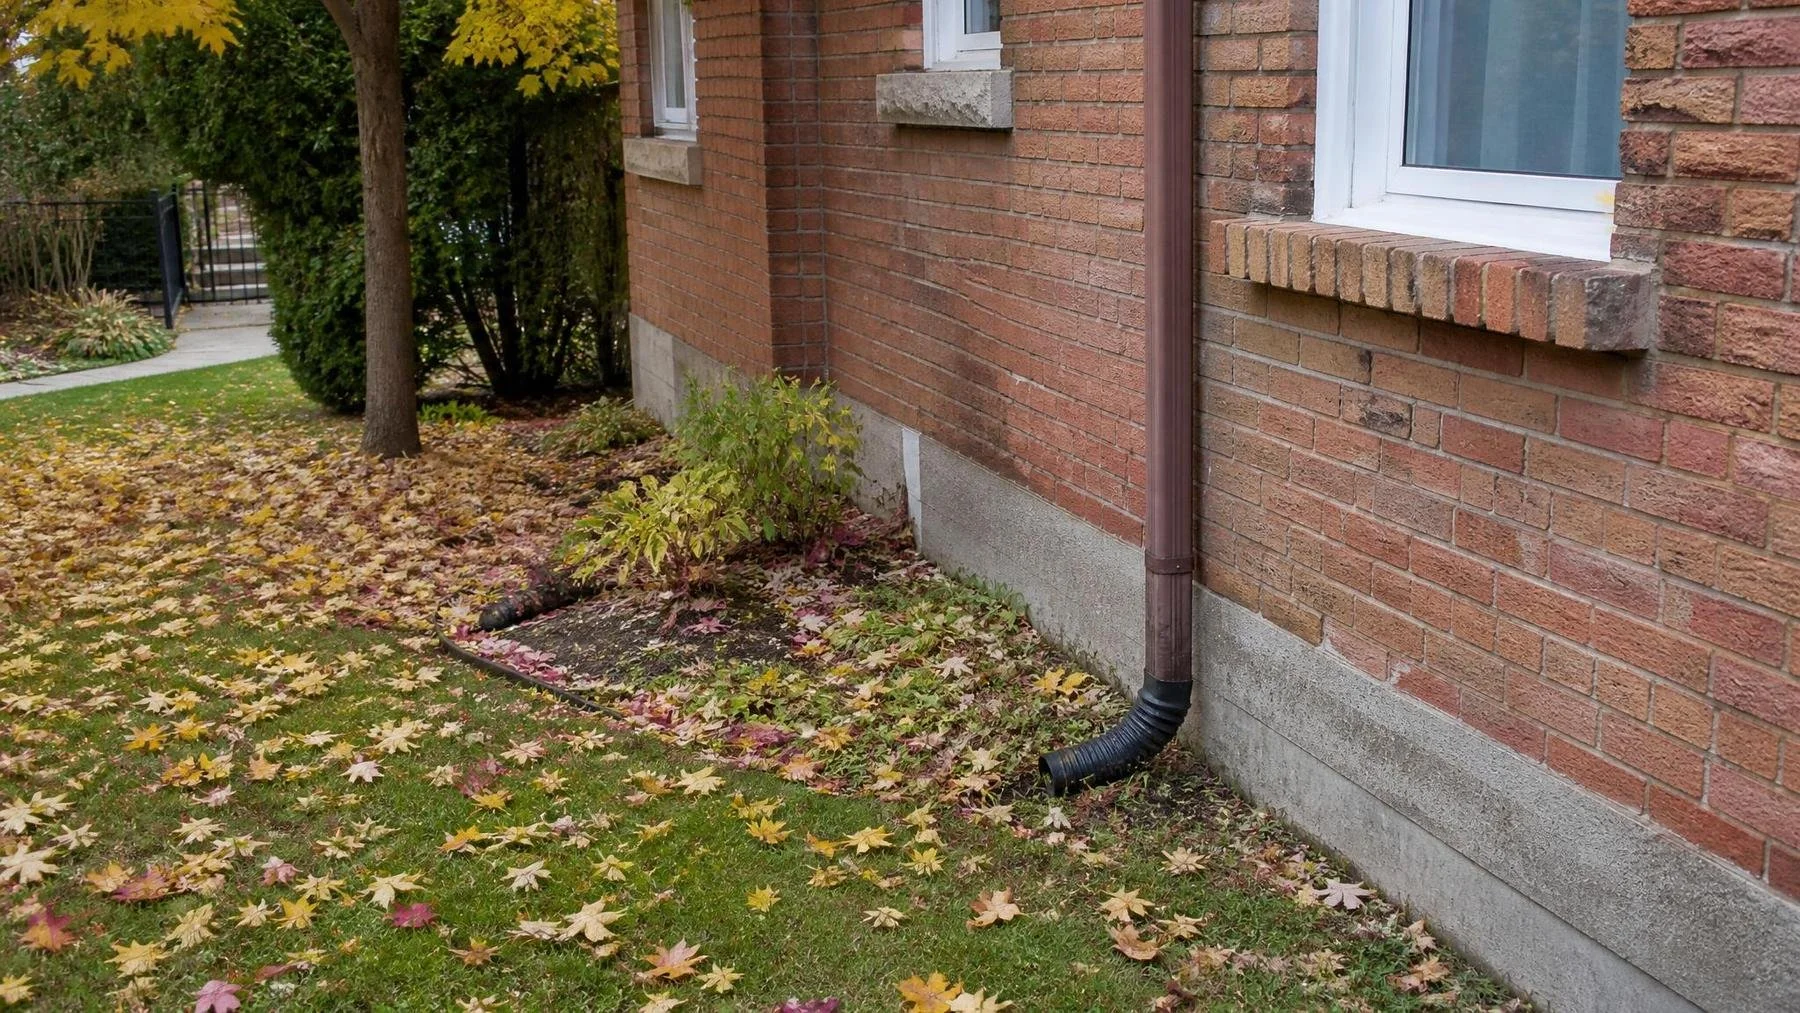
A damp patch under a window that was dry in July is the kind of thing worth half an hour this month. Useful masonry maintenance before winter is simple. Inspect safely from the ground, photograph changes, correct obvious water sources, and arrange assessment for loose masonry, movement, persistent leaks, or deteriorated joints. Nothing on that list needs a ladder.
The reason to do it now rather than in January is physics. Water soaks into brick, stone and mortar through a wet Toronto autumn, then the first hard freeze turns it to ice and ice takes up more room than water did. Freeze and thaw works like water prying a crack wider, one cycle at a time, and we get a great many cycles here.
We would rather see a photograph in October than a fallen brick in February, and most of what we are asked to fix in spring was visible the previous fall. Here is the walkaround, in the order that makes sense.
Step One: Walk the Perimeter and Look Up
Start at a corner and walk right round the building, looking at the wall above you rather than at your feet. You are after anything out of plane: a brick sitting proud, a sill that has dropped, a gap that was not there last year.
What to photograph as you go
- Each elevation as a whole, so you have a reference for next year.
- Any crack, with something in frame for scale.
- Bricks with flaking or missing faces, especially near the ground.
- White powdery deposits below windows, sills and gutters.
- Staining that runs downward from one specific point.
- Anything that has visibly moved since the last time you looked.
Step Two: Read the Joints and the Faces
Get close enough to see the mortar on the lower part of each wall. Run a key along a joint in one or two places. If it crumbles or you can rake material out easily, the joint has reached the end of its service life.
Then look at the brick faces themselves. Flaking, blown faces and crumbling edges are a different finding from an open joint, and the distinction matters because the repairs are different. Open joints and spalled faces both belong on the list for brick repair.
Step Three: Look at the Chimney From the Ground
Use the zoom and work up the stack. You want the crown on top, the joints in the brickwork, the faces of the units, and the line of the stack against the sky.
Check whether it stands plumb, whether any brick faces have gone, whether the crown has a visible crack, and whether there is staining on the brickwork below the roof line. Do not climb up to look. Chimney scope is covered on our chimney repair and rebuilds page.
Step Four: Follow the Water, Because That Is the Whole Game
This is the step with the best return, and most of it you can fix yourself in an afternoon.
- Clear the gutters, then watch where each downspout actually discharges.
- Extend any downspout that empties against the wall or onto the masonry.
- Check that grade falls away from the building rather than toward it.
- Clear leaves and soil off window wells, sills and the top of foundation walls.
- Pull mulch, soil and planting back from the masonry so it can dry.
- Note where snow will get piled this winter, and whether that is against brick.
Salt is the other half of this. Wherever de icing salt gets onto or splashed against masonry, expect surface loss over time, and plan to keep it off the brick where you can.
Step Five: Check Inside Too
Walk the top floor and the basement with the outside findings in mind. A ceiling stain near the chimney, damp on a chimney breast, a wet patch on a foundation wall, salts on the inside of block or brick, or a musty smell in one corner are all part of the same record.
Inside evidence often locates an outside defect faster than the outside view does, because the water shows up where it stops rather than where it started.
Step Six: Sort the List Into Now and Spring
| What you found | When it gets dealt with |
|---|---|
| Loose or displaced units, anything shedding material | Now, and keep people clear of it |
| A crack that has widened since you last looked | Now, assessment before winter |
| Persistent leak or damp inside | Now, trace the source before it freezes |
| Downspouts, grade, soil and snow piling | Now, most of it without a contractor |
| Open or soft joints with sound units | Spring, as planned joint work |
| Spalled faces on a stable wall | Spring, with the cause addressed |
What Not to Do Before Winter
Do not seal brick as a precaution. Do not apply a coating over damp masonry. Do not pressure wash a wall in cold weather, since that drives water in ahead of a freeze. Do not fill a crack you have not measured, because you lose the only evidence of whether it is moving. And do not go on the roof to get a better look at the chimney.
Where movement, structure or reconstruction is involved, an engineer defines the work and the City publishes guidance on when a building permit is needed. Planned condition work sits with general masonry repair.
The Short List for a Toronto Fall
Walk round, look up, photograph everything with the date on it. Test a couple of joints. Zoom in on the chimney from the lawn. Then spend your afternoon on gutters, downspouts, grade and anything piled against the wall, because water is what does the damage and water is the part you control. Keep anything loose or moving out of the spring pile and deal with it now.
Show Brick Aid Masonry the damage
We are a family owned masonry company serving Toronto and the GTA. We assess brick, stone, chimneys and foundations in person, give you an honest free quote, and back our work with a 2 year workmanship warranty. Request a free quote and send us photos of what you found.